It’s one thing to have a vision, and quite another thing to bring that vision into form.
The vision part is so beautiful and simple. In our mind’s eye we create buildings in minutes, serene landscapes and delightful flowers with a flourish, and we can feel ourselves having tea with our friends inside of still non-existent kitchens.
And then there are the logistics: time, money, energy, and the limitations of reality.
The actual hours in each day.
The amount in the bank account.
Skilled or unskilled labor showing up, or not.
A little setback like a wildfire.
Persevere! Keep going! Hold the vision, and take baby steps towards it each day! Don’t give up!
And slowly, like a tortoise rambling along, something wonderful emerges.
After the wildfire in May 2022 up at our wilderness retreat outside of the Santa Fe National Forest I had two main building goals.*
1. Complete building and staining the deck around the yurt
2. Build a bathhouse
It was ambitious, but with two expert builders and a handful of both skilled and unskilled volunteers over two work parties in May and September, it seems doable.
My fourth pondering was if I should buy a mill to process the burnt trees into lumber. (The answer: YES.)
* In addition to the ongoing projects of planting seeds and trees, soil restoration, erosion control, and general grieving for all that was lost.
A few thing to note:
Because the retreat center is between 7,200 and 7,500 and at the southern tip of the Rockies, the weather variation can be drastic. Our first work party at the end of May 2018 it went down to 17 degrees one night. And we had glorious, warmish weather for much of December this year. We have two work parties a year: May and October, when most of the building projects are concentrated. So image what I’m sharing below happening in super compressed time frame and lots of weather surprises (like multiple hail storms in June last year.)
I share about how much things cost and the immensity of labor when I write about building because when I began I had no idea what it actually took to create such a dream. I regularly see people sharing finished projects, or even the process, but not sharing the resources needed or the invisible hard parts and challenges. So I want to share peeks behind the scenes which included the full spectrum of manifestation.
The finances to fund our wilderness retreat come from royalties from my books, donations from our beloved community, and lots of money juggling on my part.
It is such a joy to go back and look at photos and remember the process so I can share it here with you. Thanks for now being part of Warrior Heart Ranch.
Here is how it started, and how it is going now:
30-foot Teaching Yurt
This is the remains of the huge beams for the yurt deck. A tasty snack for the wildfire which came in from the north, ate these $3000 worth of deck foundation, slammed up against one wall of our adobe kitchen, and then headed up to consume 175 of our 180 acre pine and fir forest.
Before:
After:
Recent pic in the snow!
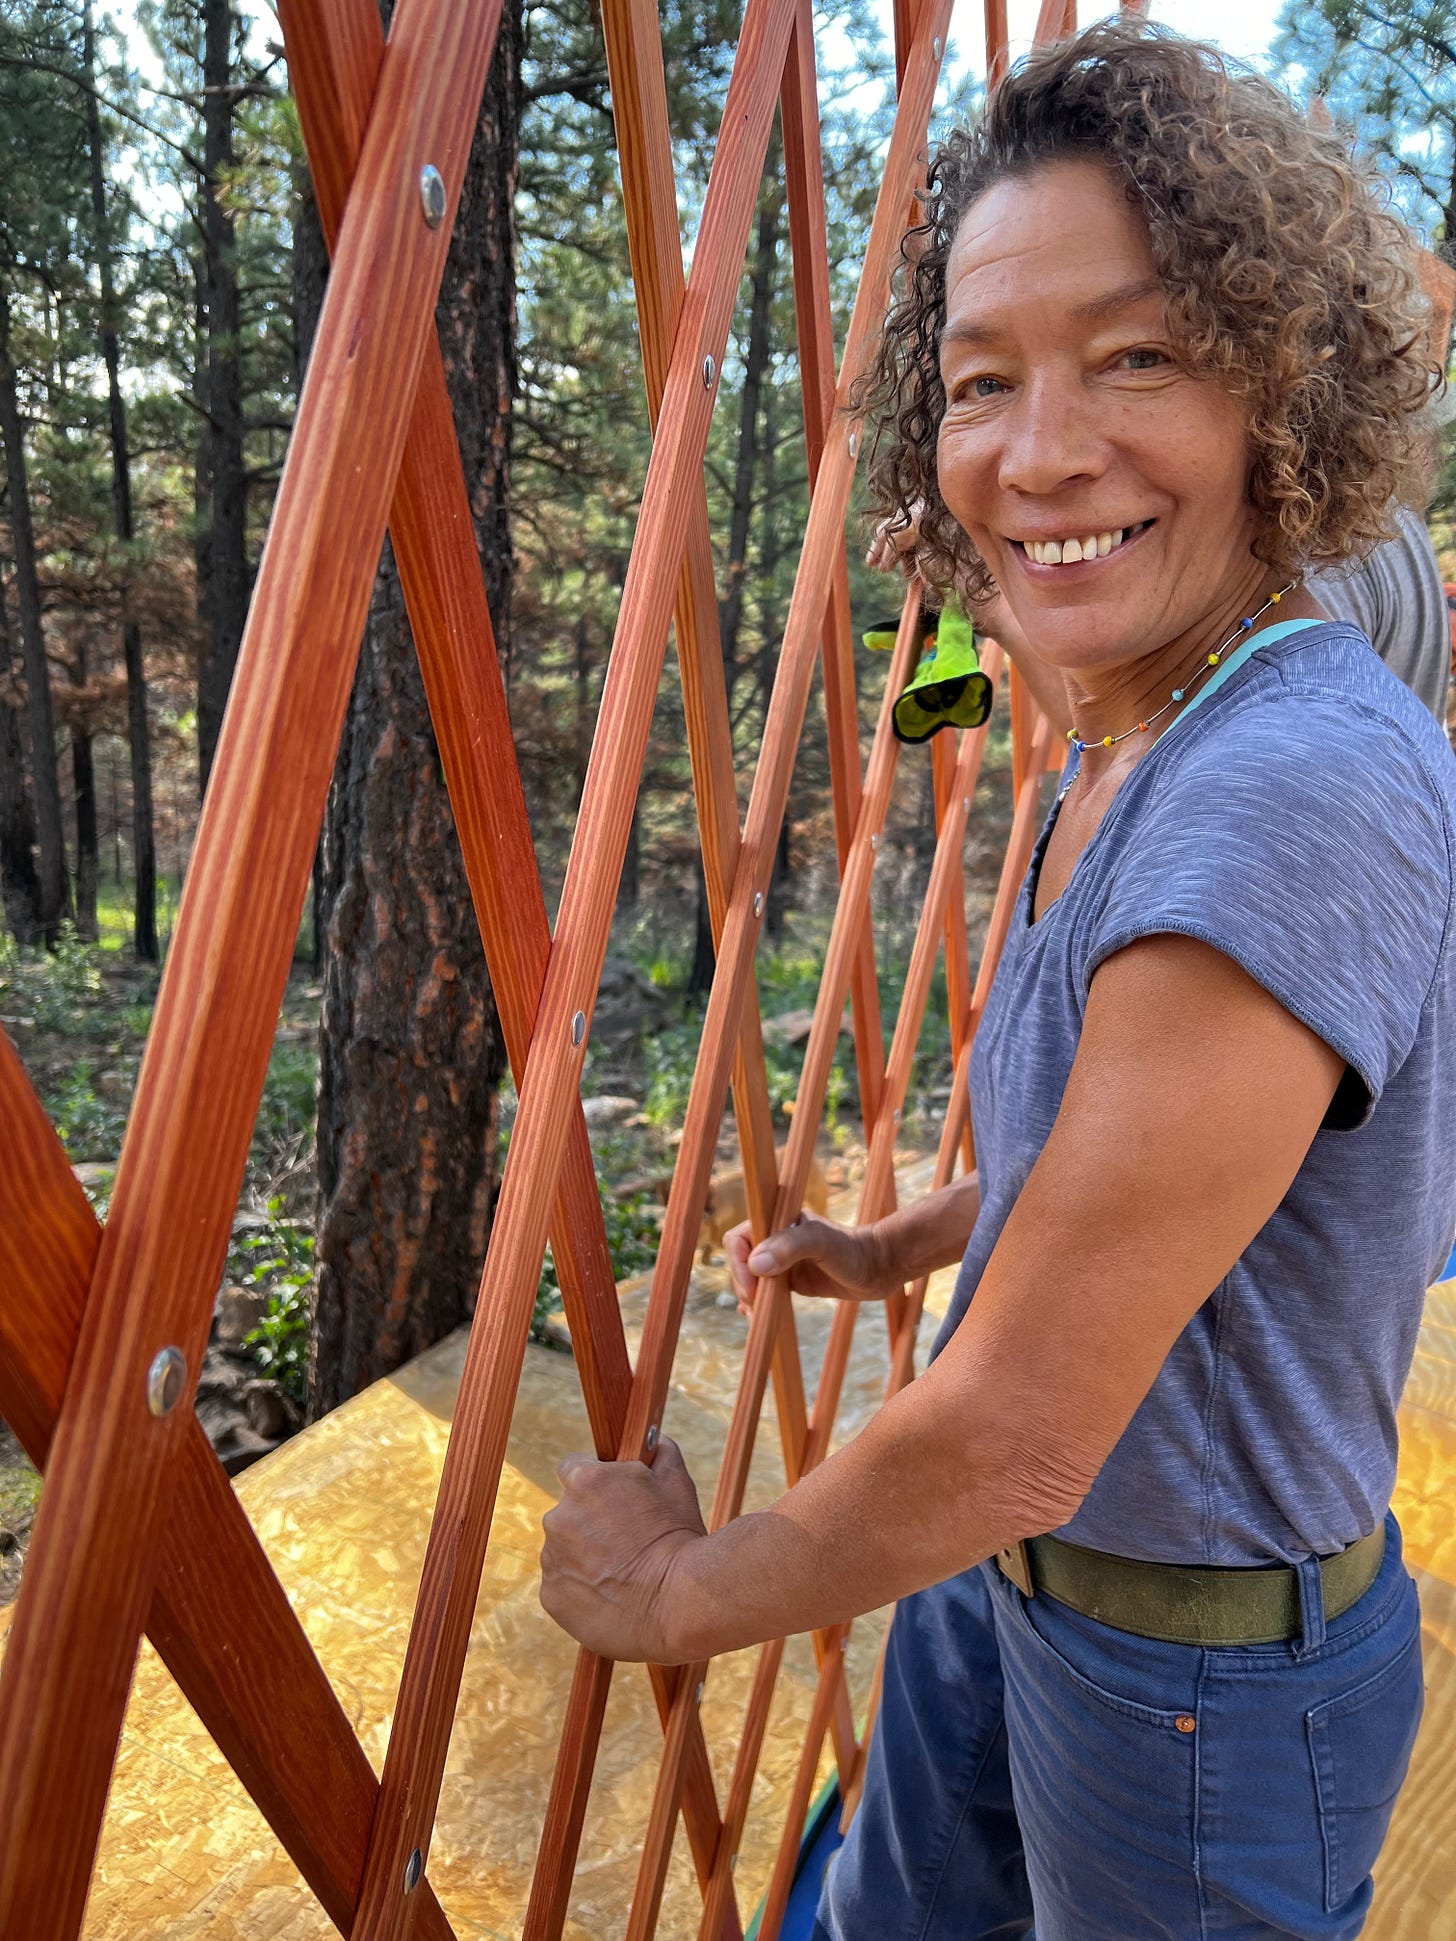
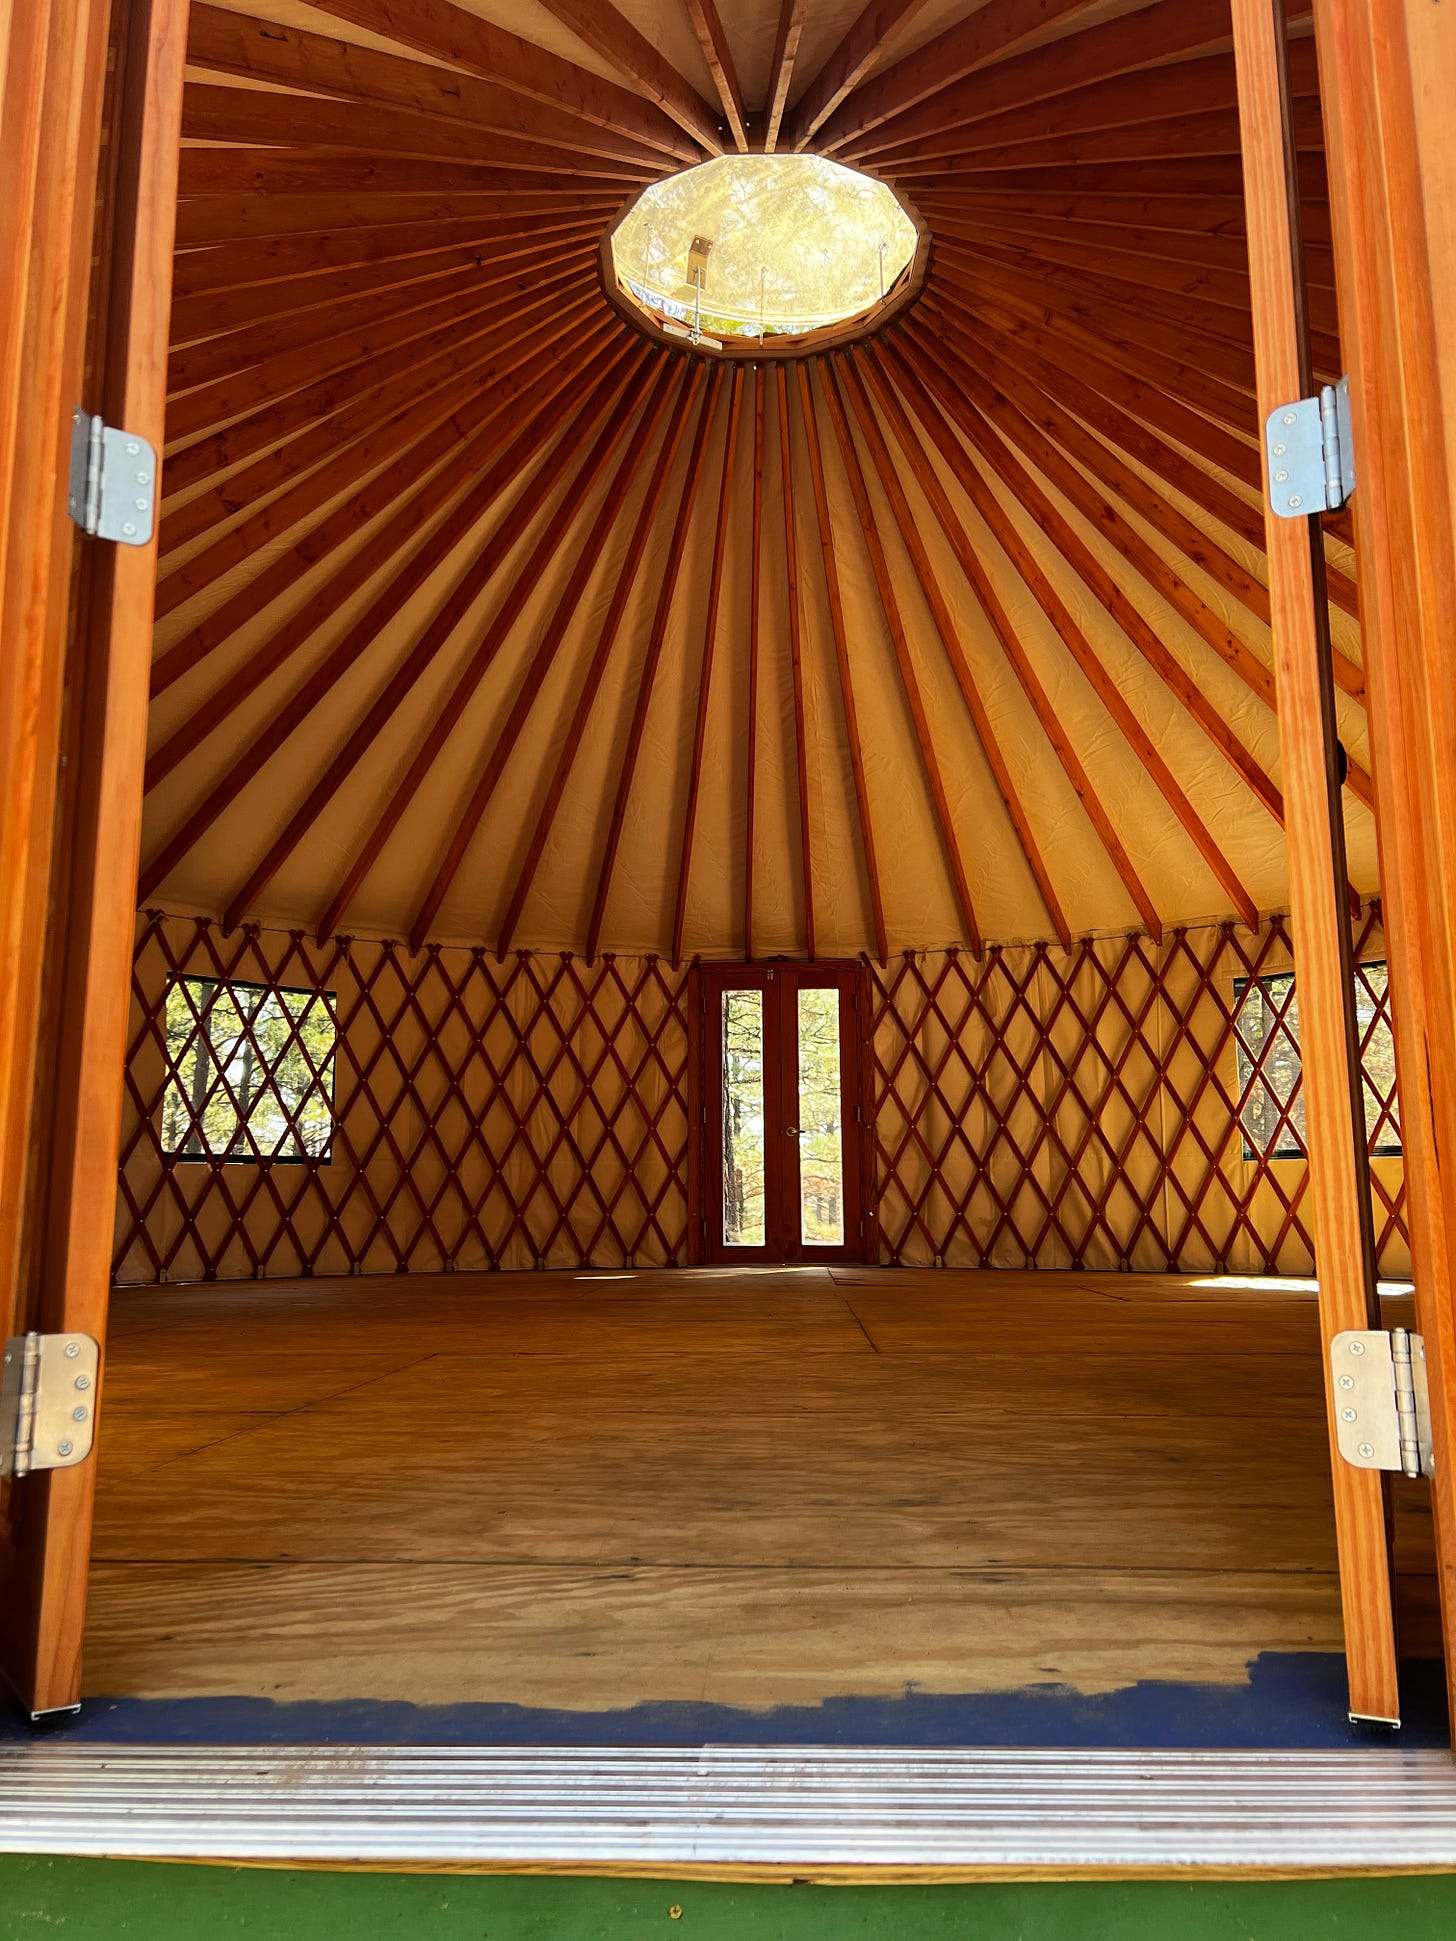
Underneath the yurt’s deck are hours of leveling and measuring and digging holds by hand through rock and hard earth, cement pilings poured, beams erected, subfloor for the 30-foot yurt, then what feels like miles of decking. After months of preparing the foundation it took a crew of six friends two days to put the yurt up in September 2022.
Hint: when they say, “oh yurts are so easy to put up!” know that the pre-work to make such ease happen is, well, hard. And expensive. The yurt, which arrived in huge boxes from Colorado, cost about $30,000; the foundation and 38-foot deck cost about $12,000, just for materials. Not to mention the hours and hours of labor by Franklin and me and friends: for this project - Mary, Brandon, Marilyn, and Vince.
And yes, the actual putting up of the yurt is fairly and joyfully simple when you have a good crew. Watch the 30-second time lapse video below of us putting on the roof.
And an eagle eye view of the deck before we started erecting the yurt.
So much joy as we watched it coming together
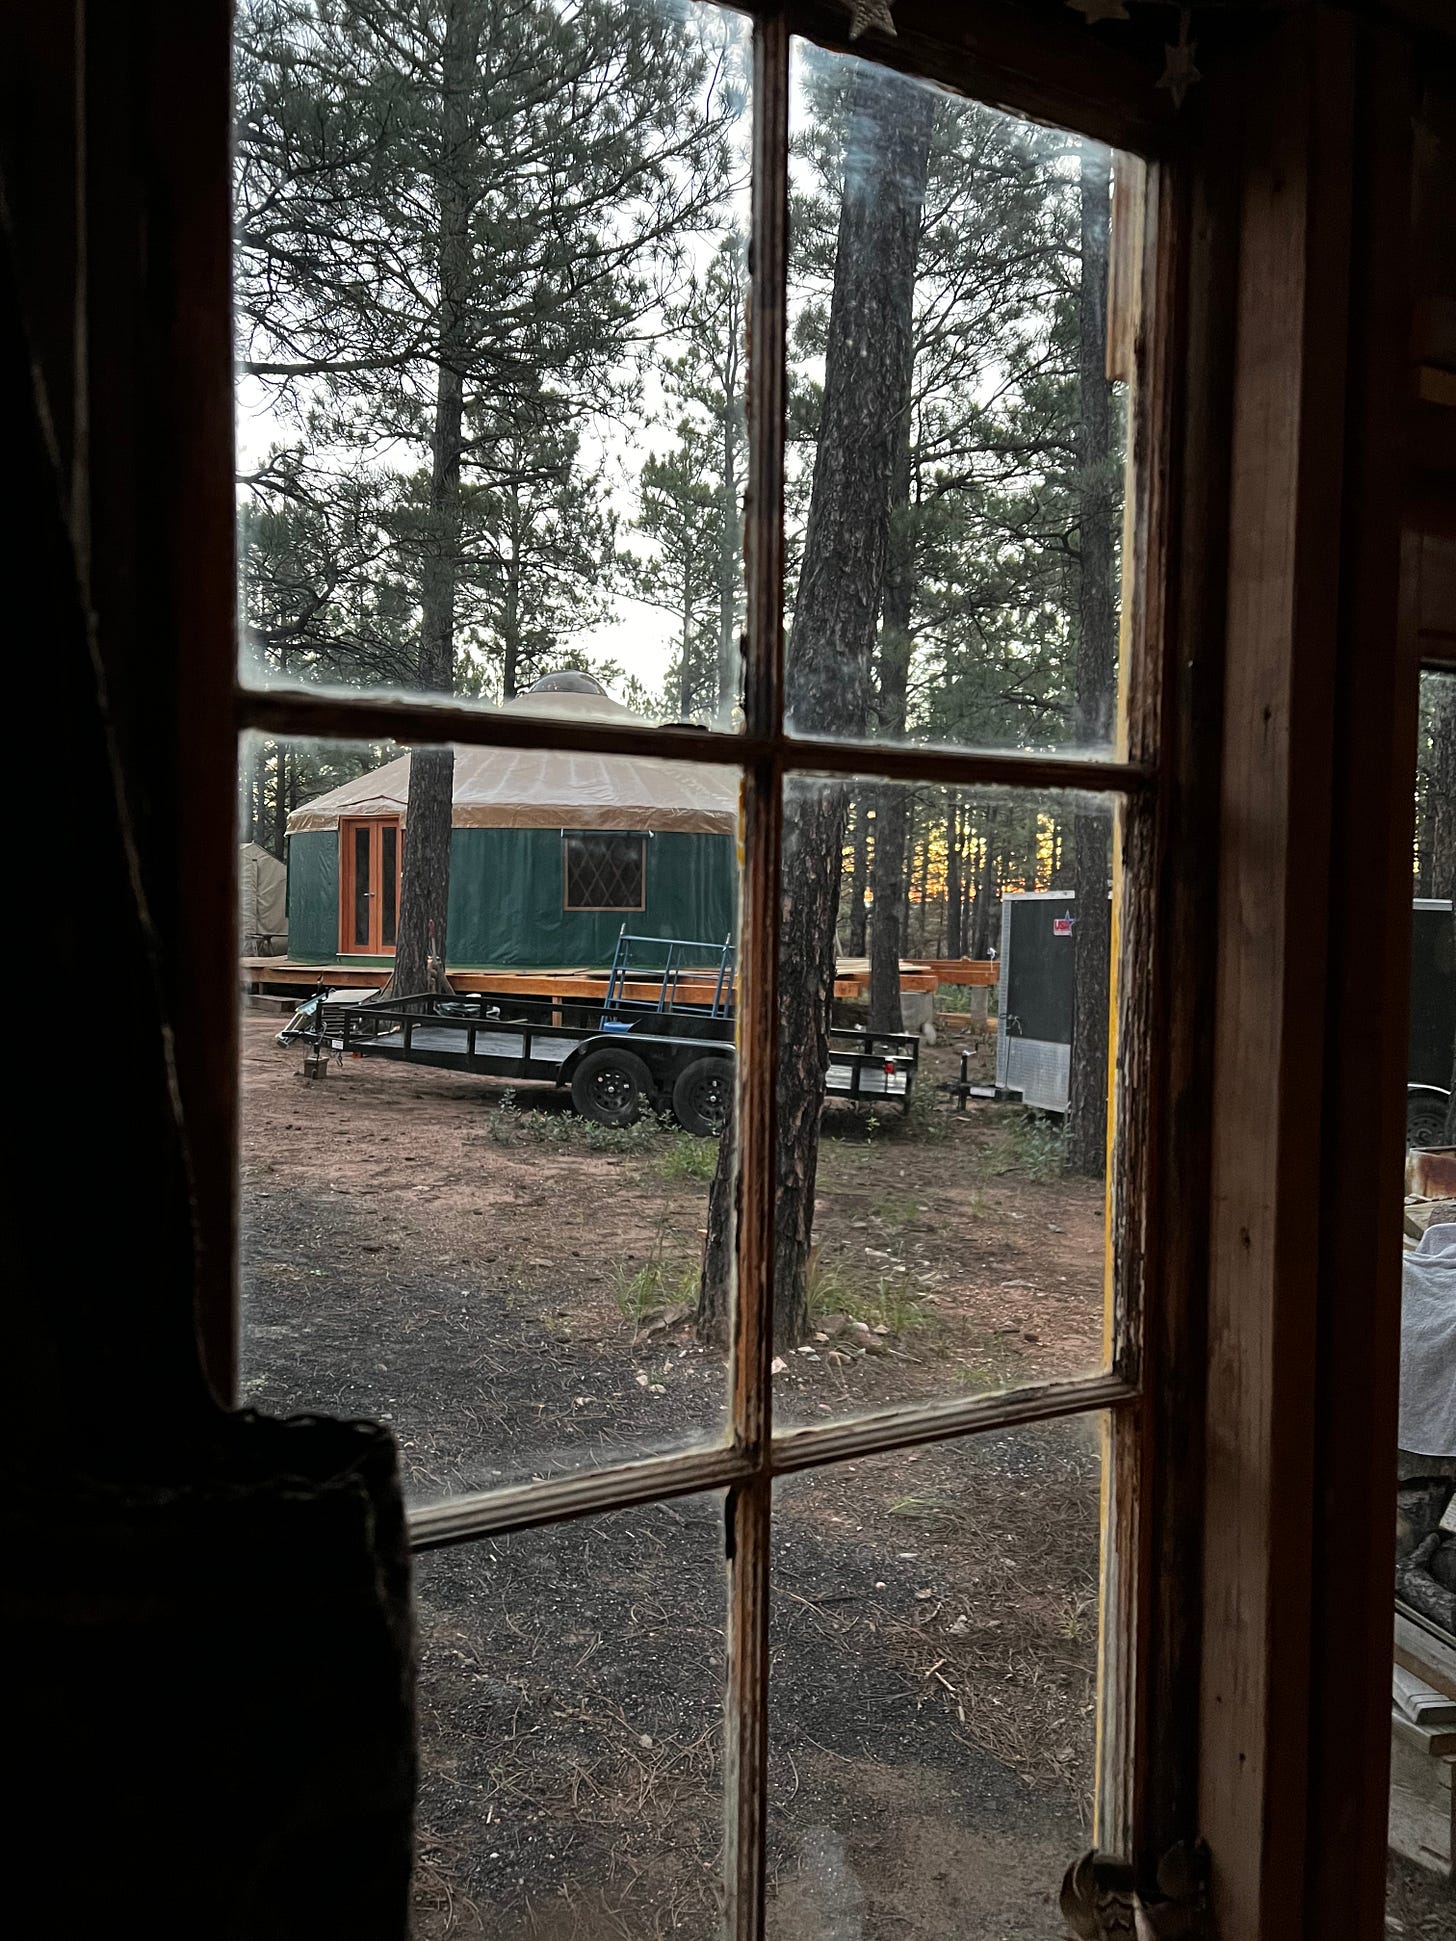
Finished yurt, view from the community kitchen.
Bathhouse
This was our big project for the year. Mark came in as our main builder. I had learned a valuable lesson early on in our building process to keep the peace: make sure there is one person who is only one responsible for vision and execution of each project.
Everyone has different opinions and ways of doing things. So by having Franklin be in charge of the deck and yurt project, and Mark be responsible for the bathhouse project, we cut down on frustration and created harmonious working groups who knew they could share opinions, but were also clear who had final say.
Mark came up early in the year and we scoped out the site for the bathhouse, which is north and slightly east of the community kitchen and almost directly across from the yurt.
I had one main ask, which was: cut as few live trees as possible.
Mark and I walked the area, which was where a very enthusiastic group of volunteers had once built a make-shift outdoor shower out of old beams and rope. We flagged the general dimension of the building, and were delighted when it fit between the current trees quite nicely.
Before we started building Mark asked a serious question:
“We can build this creatively in a curve, or as a rectangle which will be much easier, and cheaper. Are you willing to pay more for the creative version?”
My budget said one thing, my heart said another.
The heart won, and we have a glorious, sexy, curved bathhouse with a covered porch that matches the arc of the yurt and is stuccoed the same color as the community kitchen. Yummmmmmm.
The vision: two bathrooms and two showers.
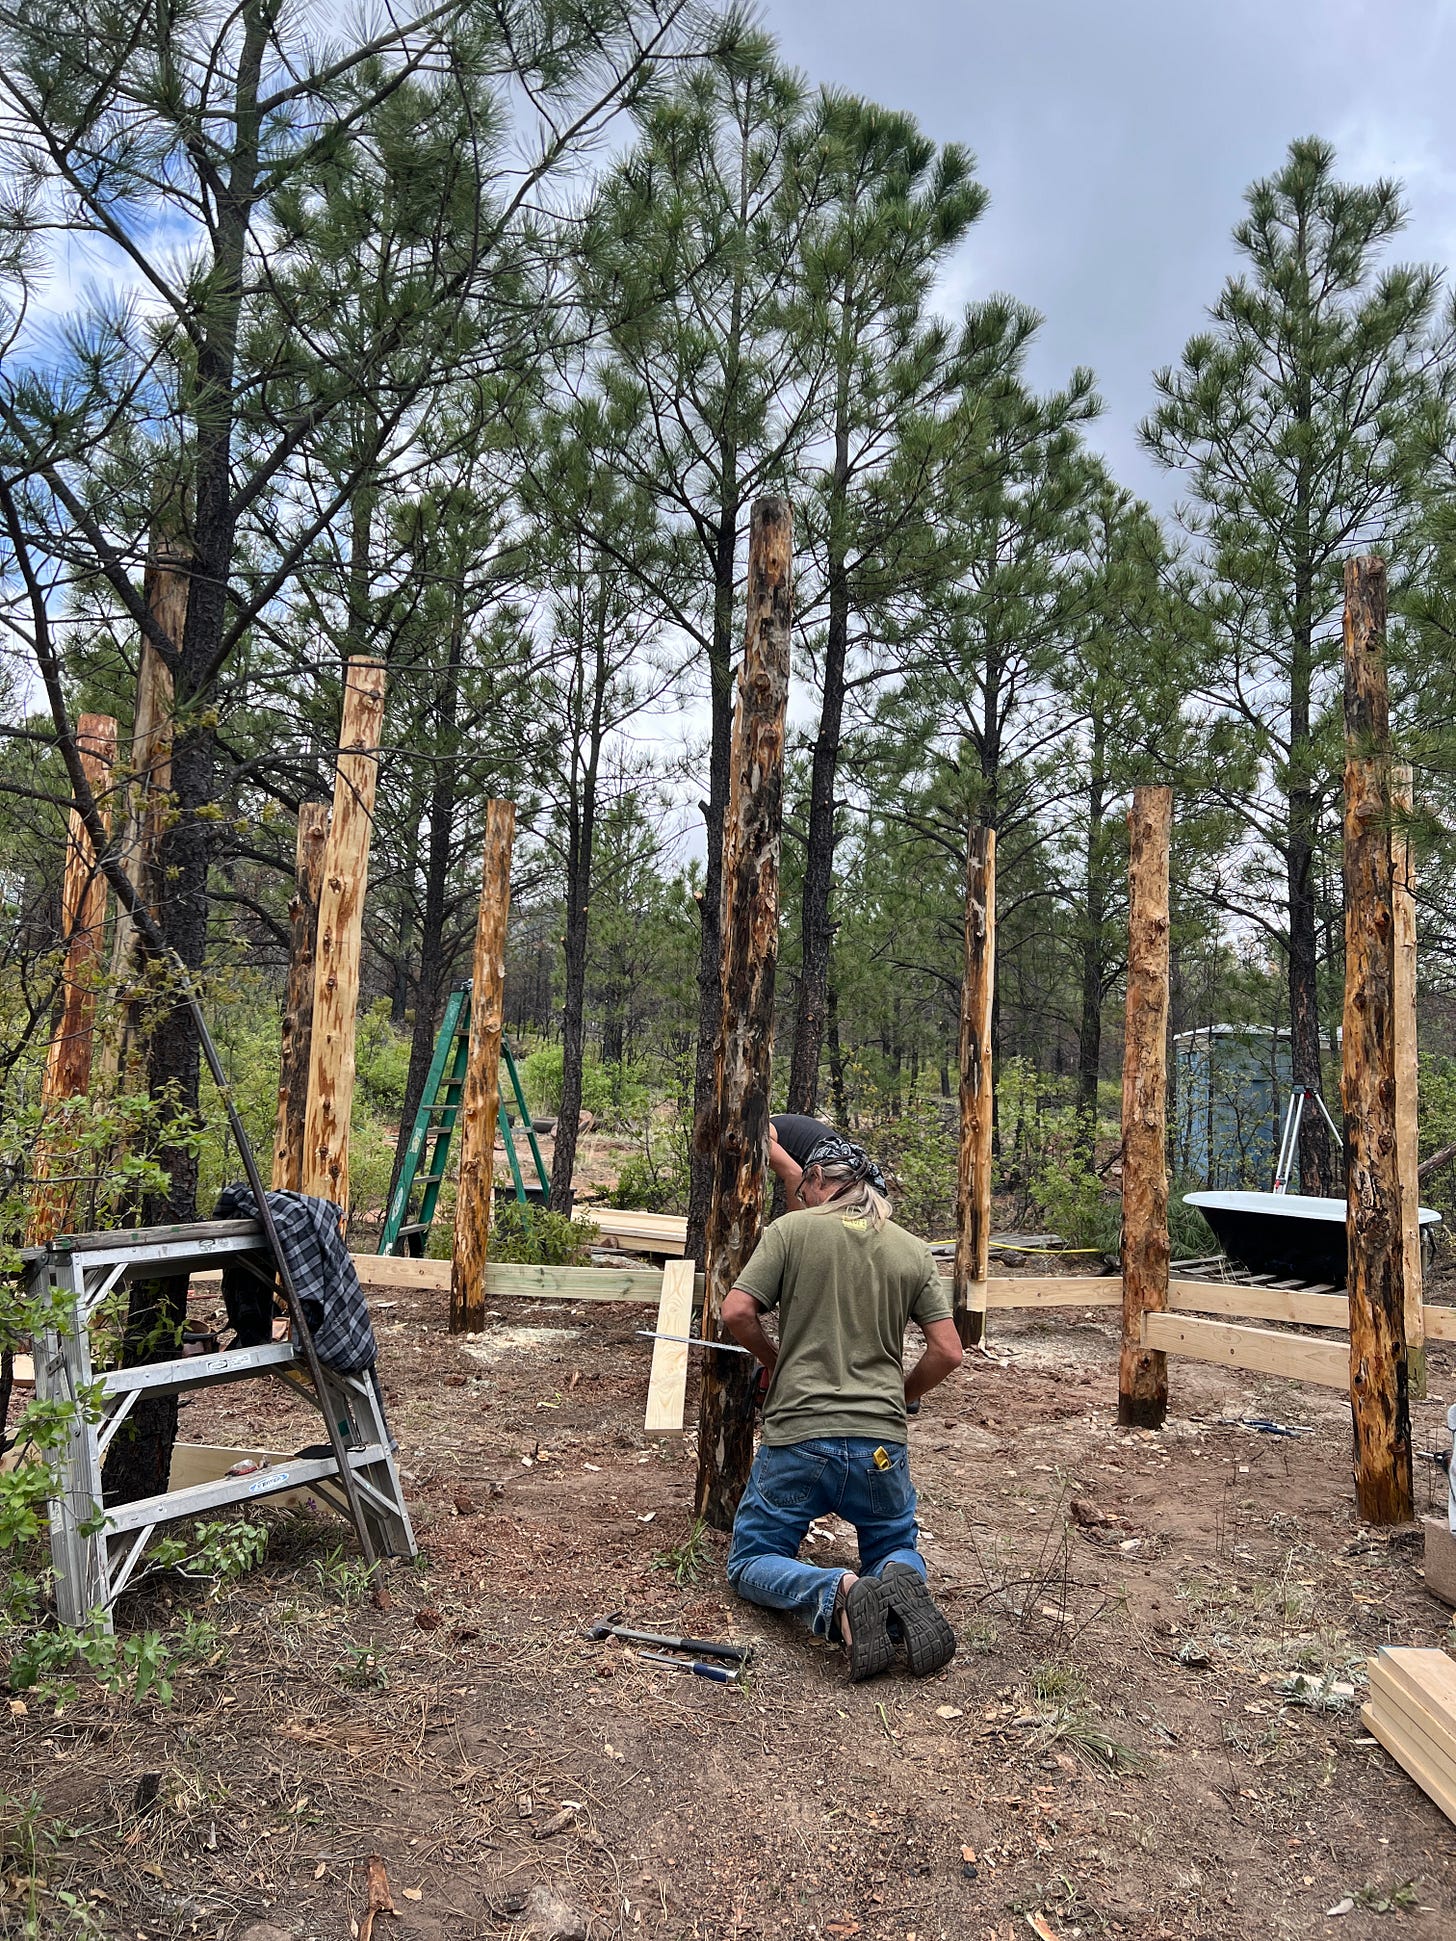
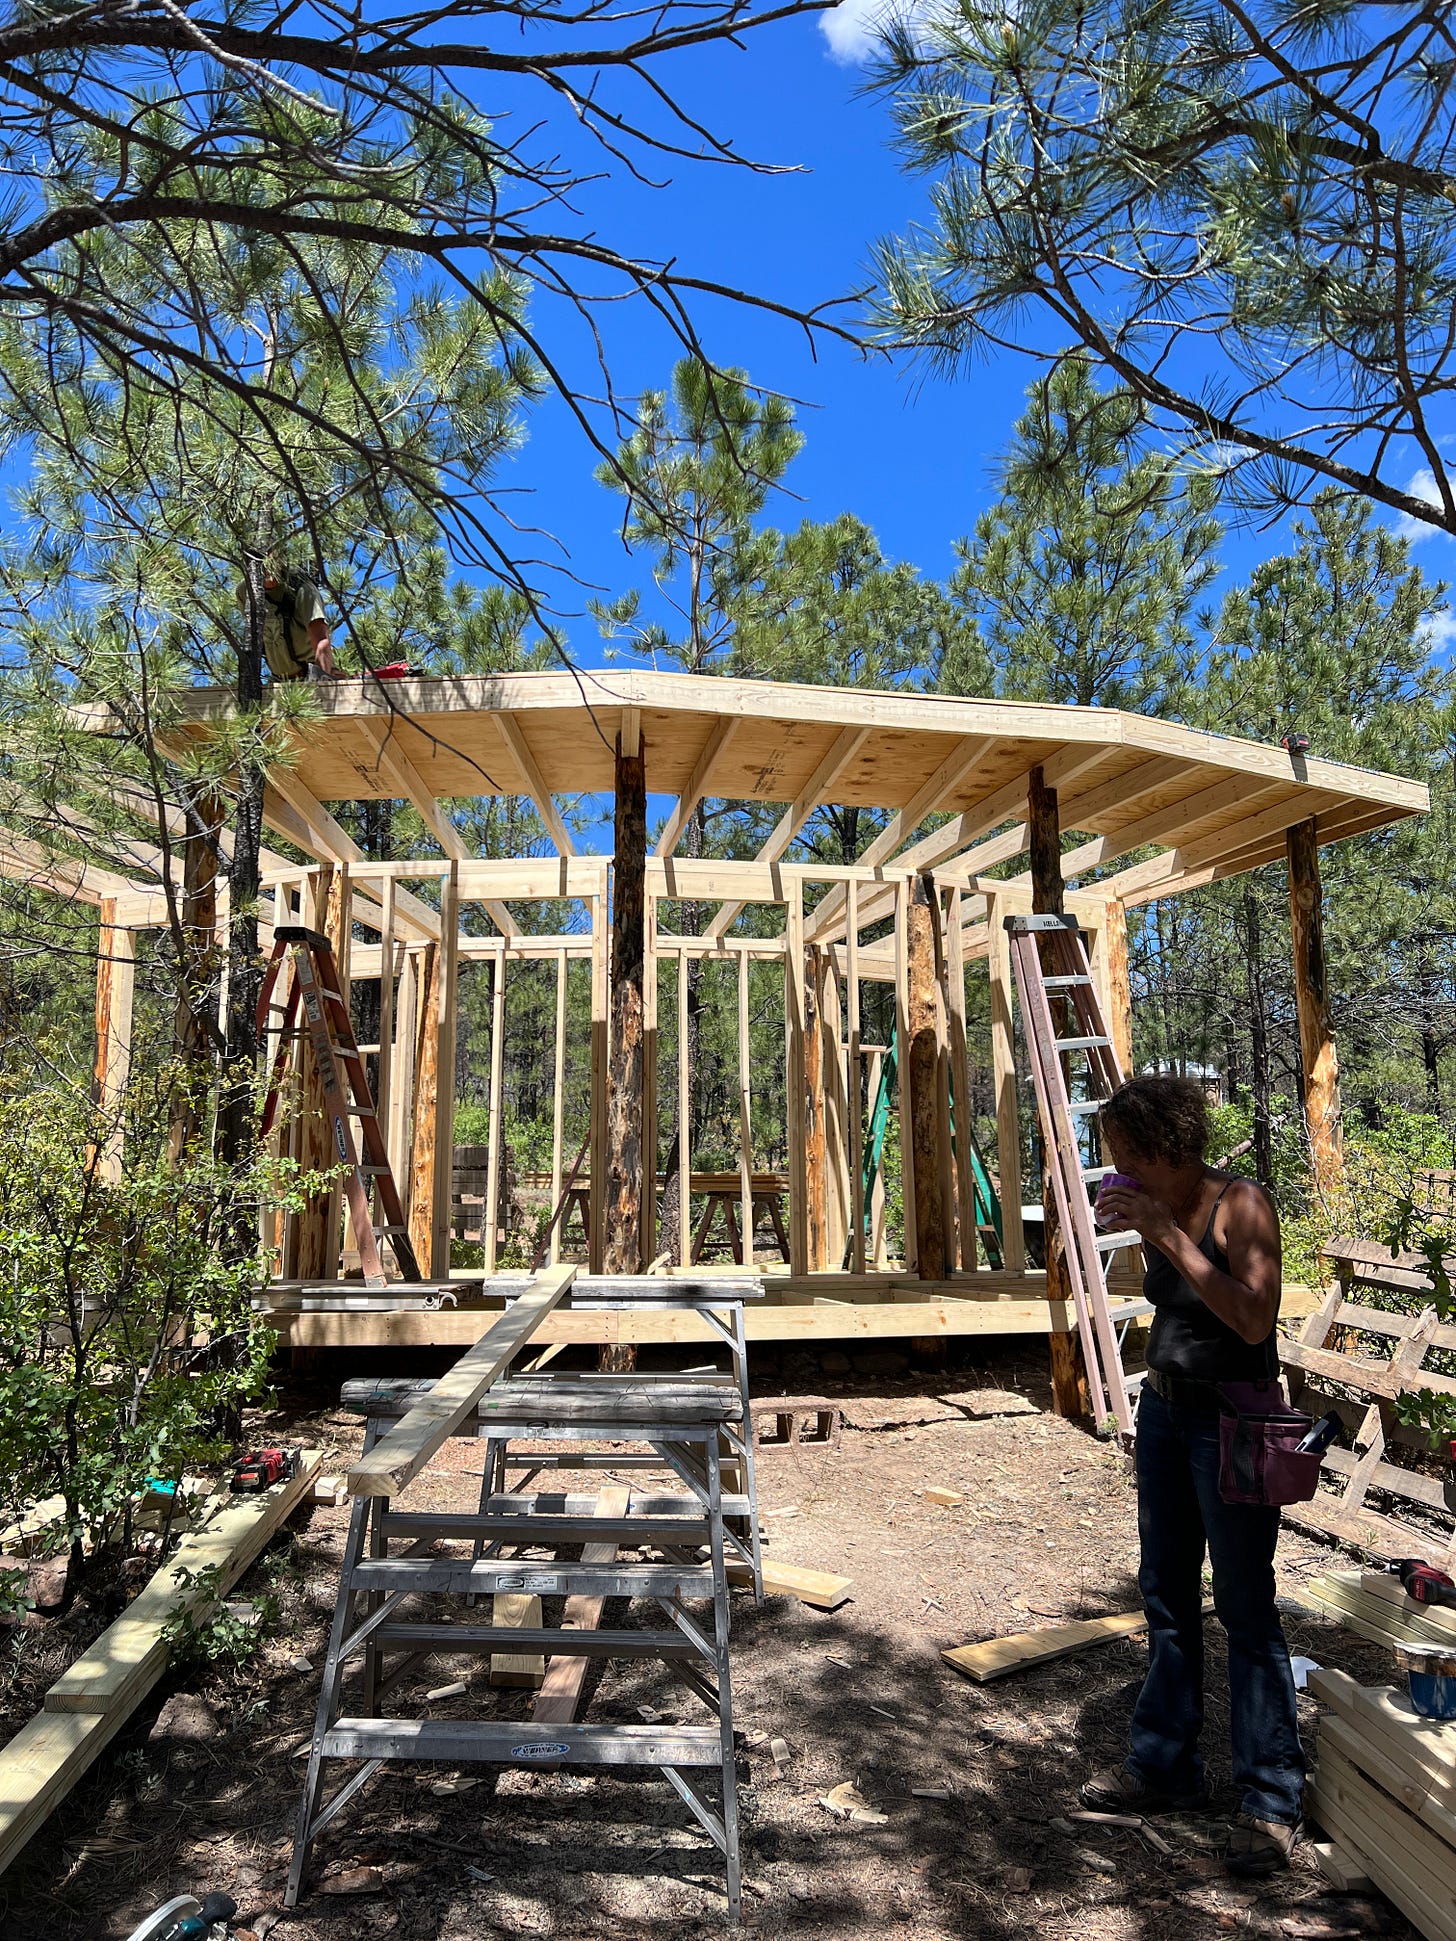
Bathouse - Before:
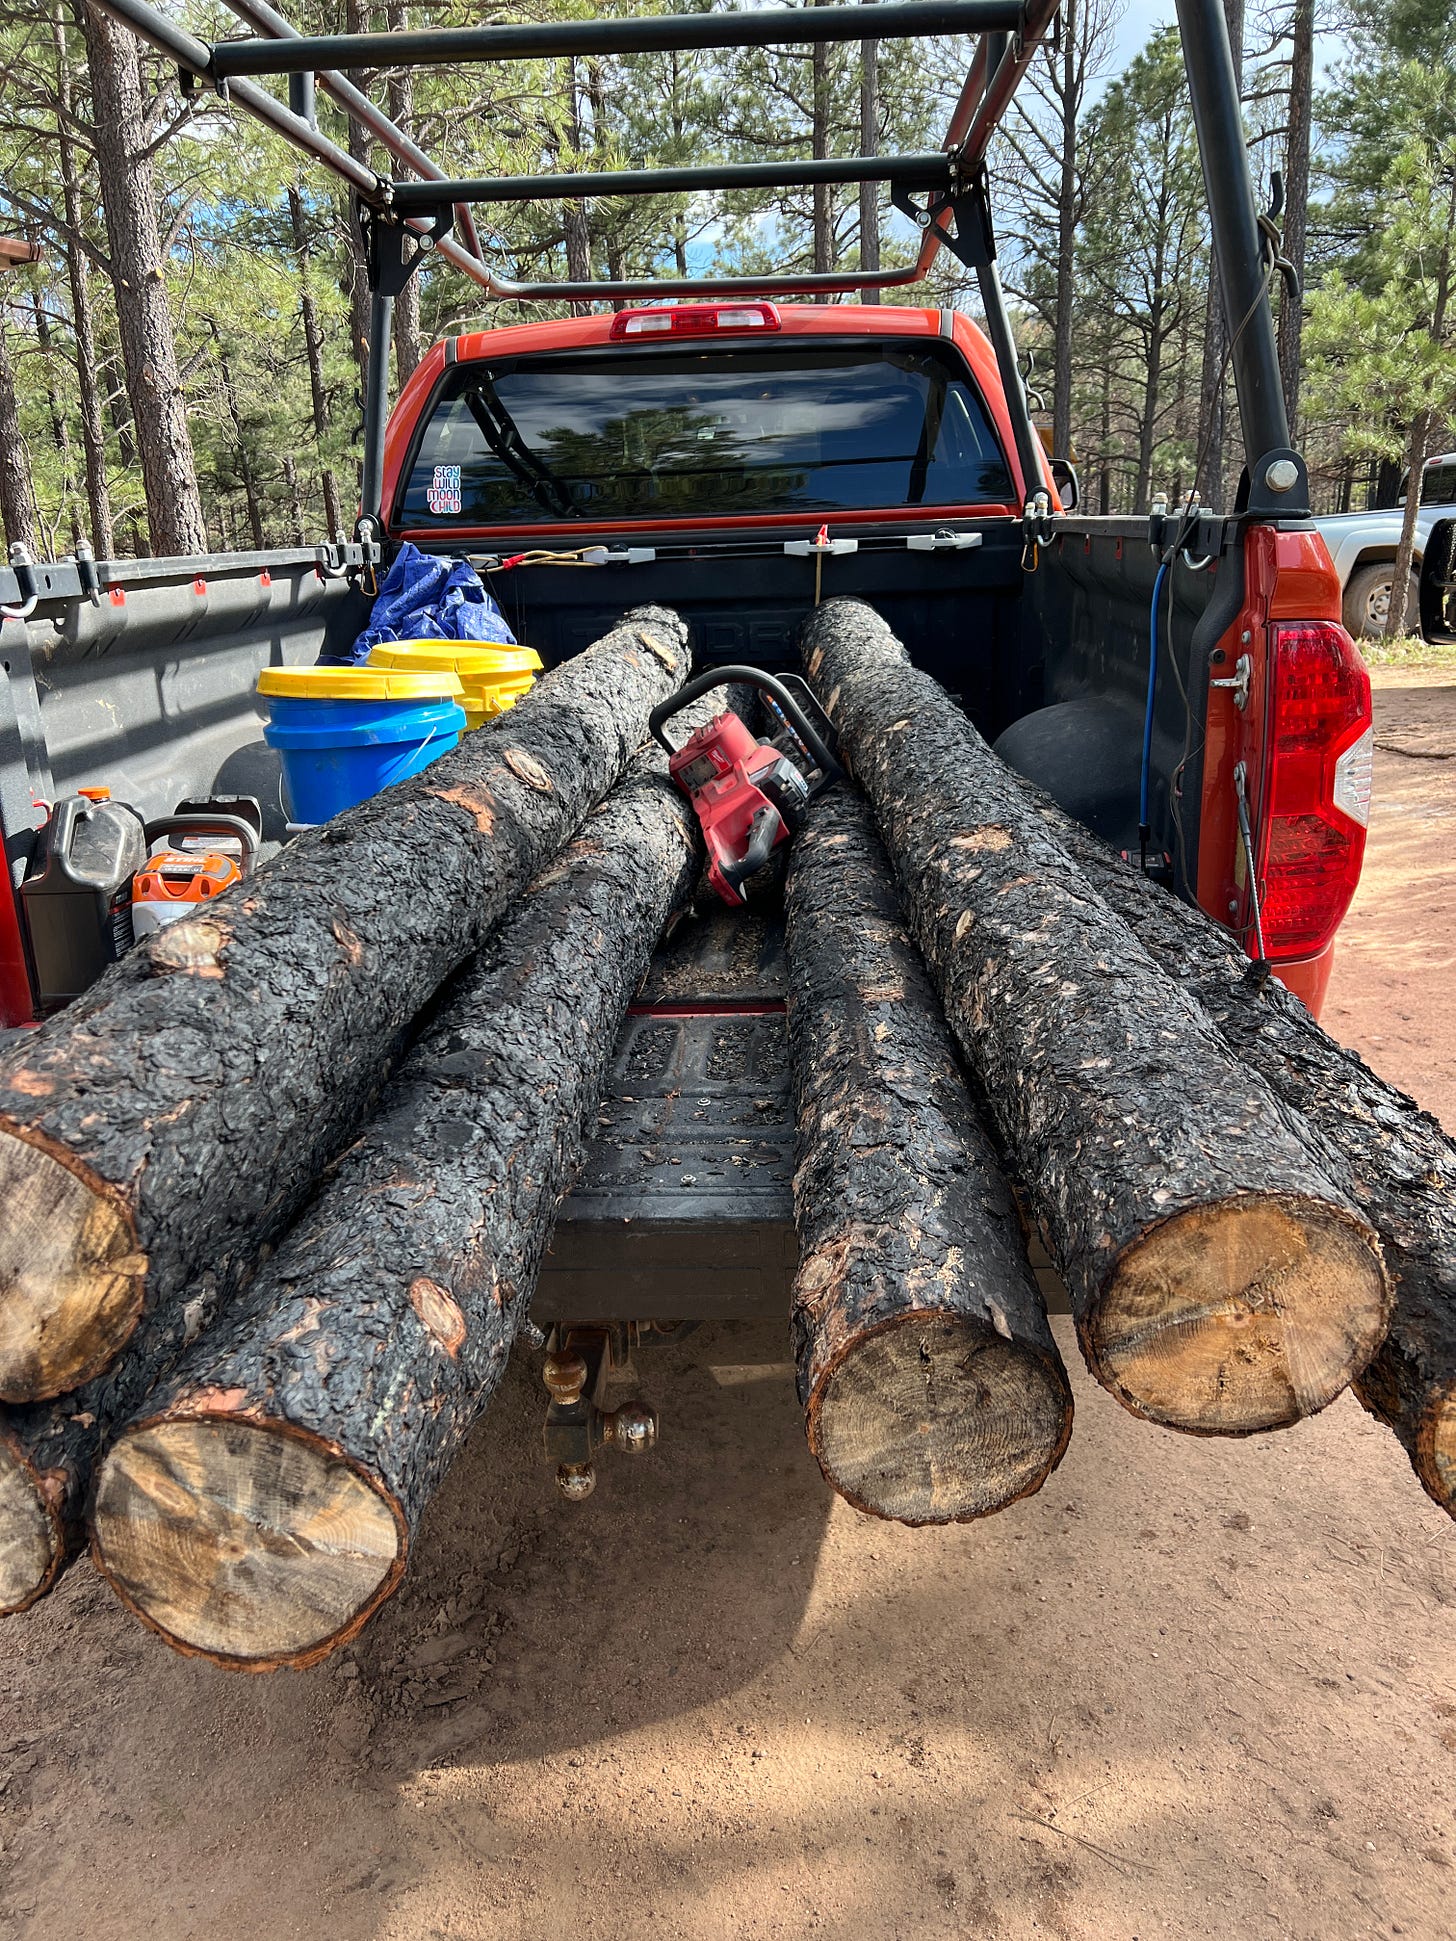
Gathering post beams from the burn. Mark and I walked the forest of standing black trees, picked some that were around the same size, and got our chainsaws out. I must say cutting down trees with a friend knowing you are going to build something beautiful is one of my favorite afternoon activities.
What we learned was this: fat white beetle grubs had already started seriously eating the trees, making glorious patterns under the bark. I now understood why we had so many fat and sassy woodpeckers and gunshot-looking holes up and down the charcoaled trunks.
This, along with the recent rains had softened the bark to such an extent that we could peel most of it off easily, like a scab sloughing off a healed wound.
We dug two-foot deep holes for the posts (and somehow miraculously did not hit rock) and started roughing in the foundation.
We learned how to stucco! This is one of the great things about having land and building for and with community: you go all in, even with stuff you have no idea how to do. It can be messy, not perfect, and creative. The bathhouse now matches the stucco of the community kitchen (which was professionally done. I have so much respect for the folks that do this for a living, they are gods), as we used the left over stucco from that project. Watch this 24-second timelapse of final coat of stucco.
Here is part of our crew at the back of the bathouse, where the bathtub now lives. Note the outdoor propane hot water heater hanging on the tree. We have one installed for the bathtub and one for each shower. These camping hot water heaters run off of a 9-volt battery that sparks the flame, and the water pressure from our water tanks up the hill. They are a little tricky to adjust for showers, but for the bath I can fill up and have a steamy hot soak under the stars. Magic.

Bathhouse - After
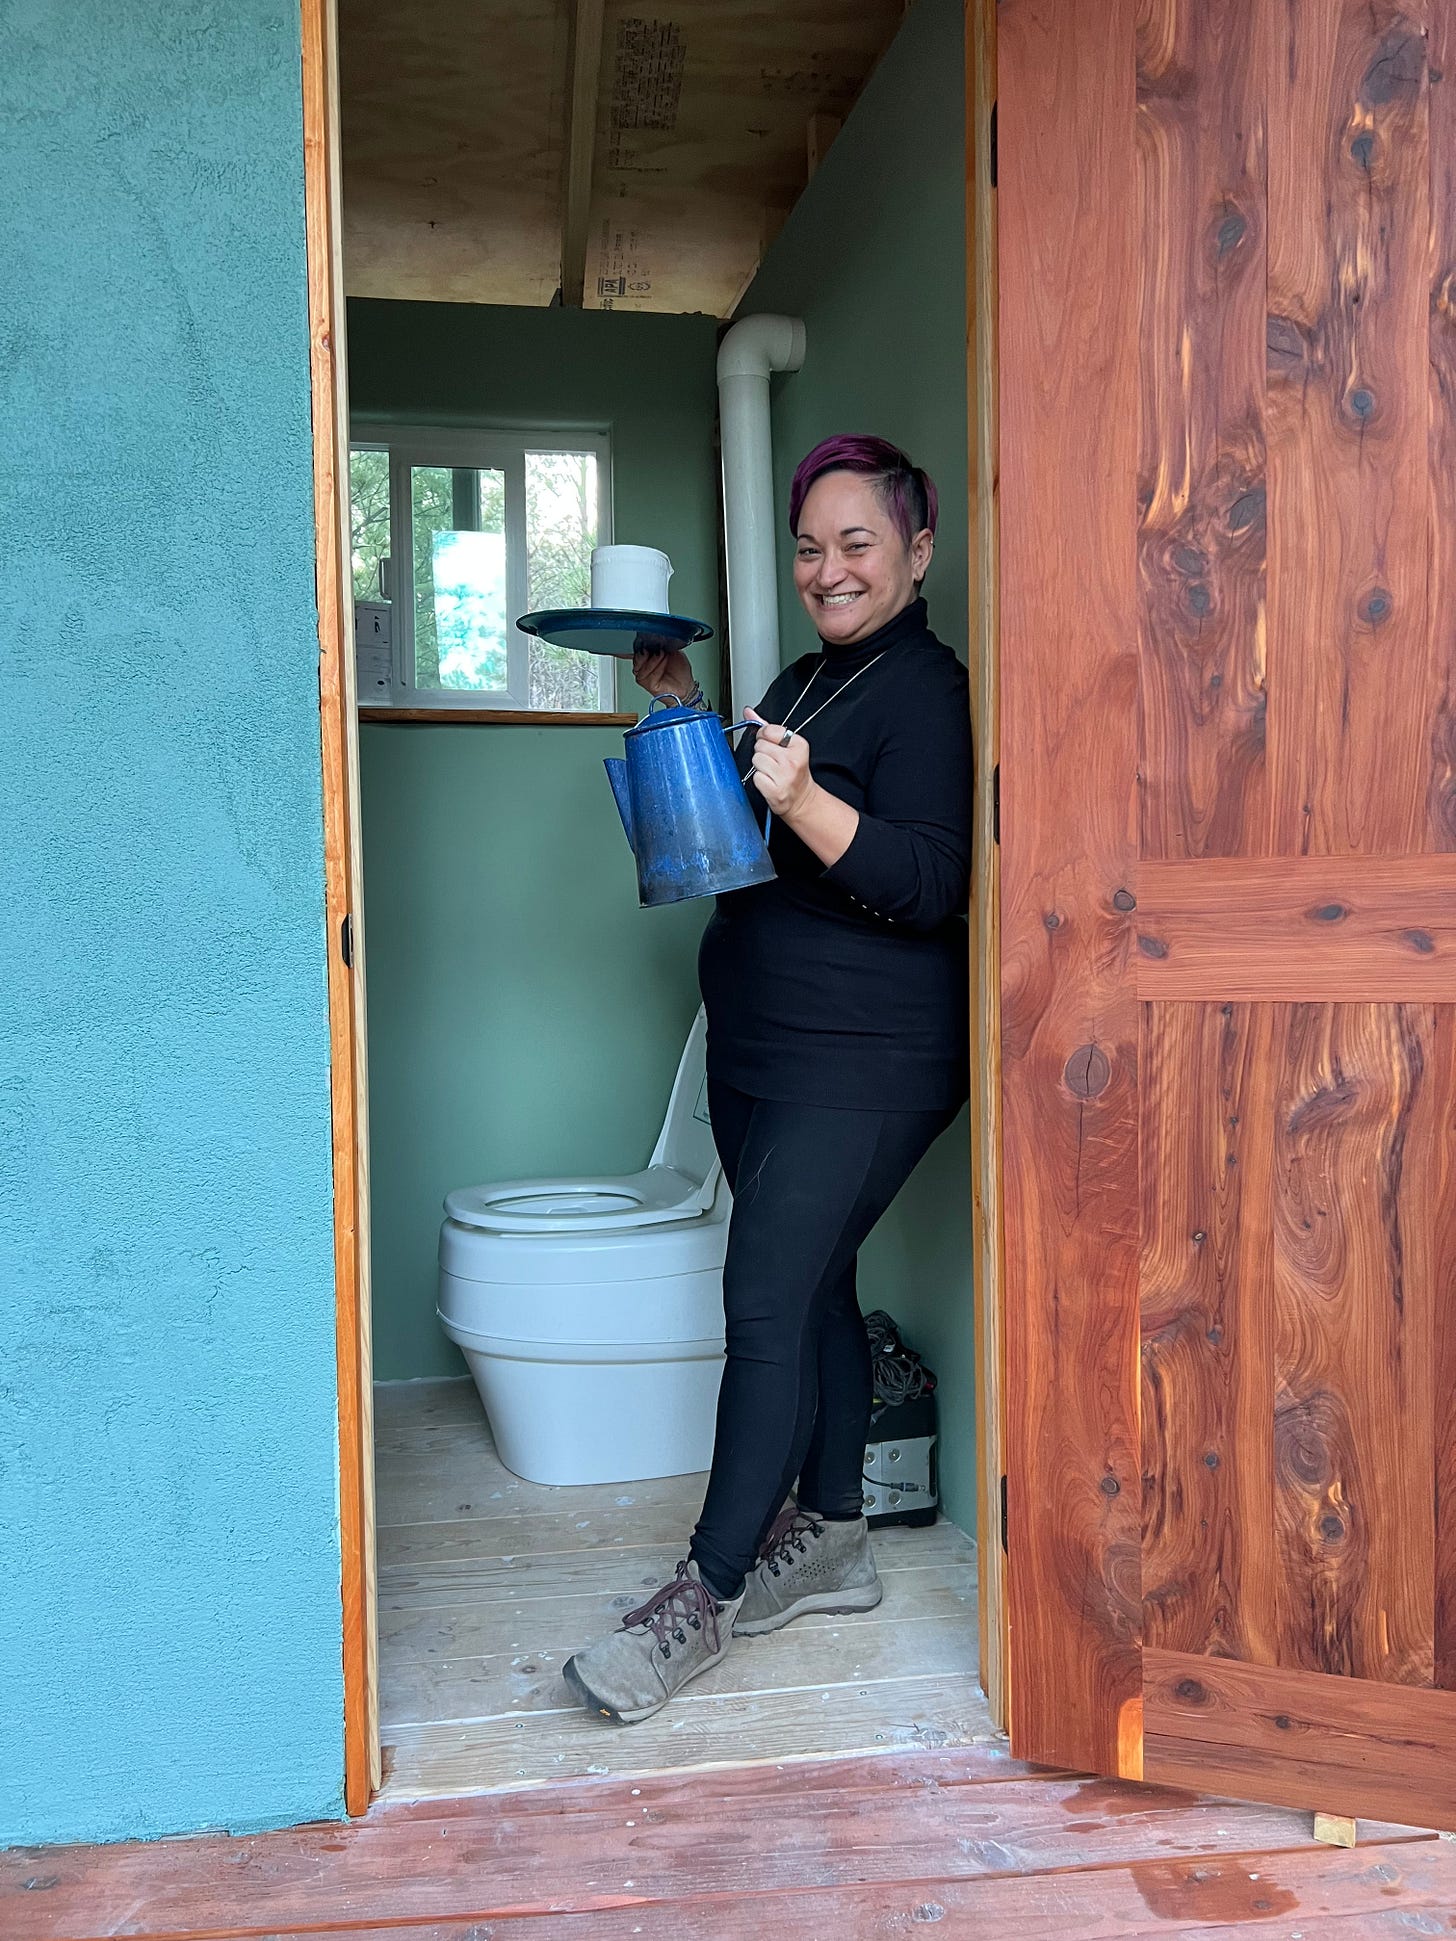
Building complete with two toilet stalls and two shower stalls and a lovely porch.
Handmade cedar doors by Mark, along with design, build, and the stunning rough cedar along the roofline.
GRATITUDE to the bathhouse crew: Mark, Marilyn, Franklin, Laura, Sarina, Mel, Jen, Sue, Effie, Rowan, Brandon, and Mary.
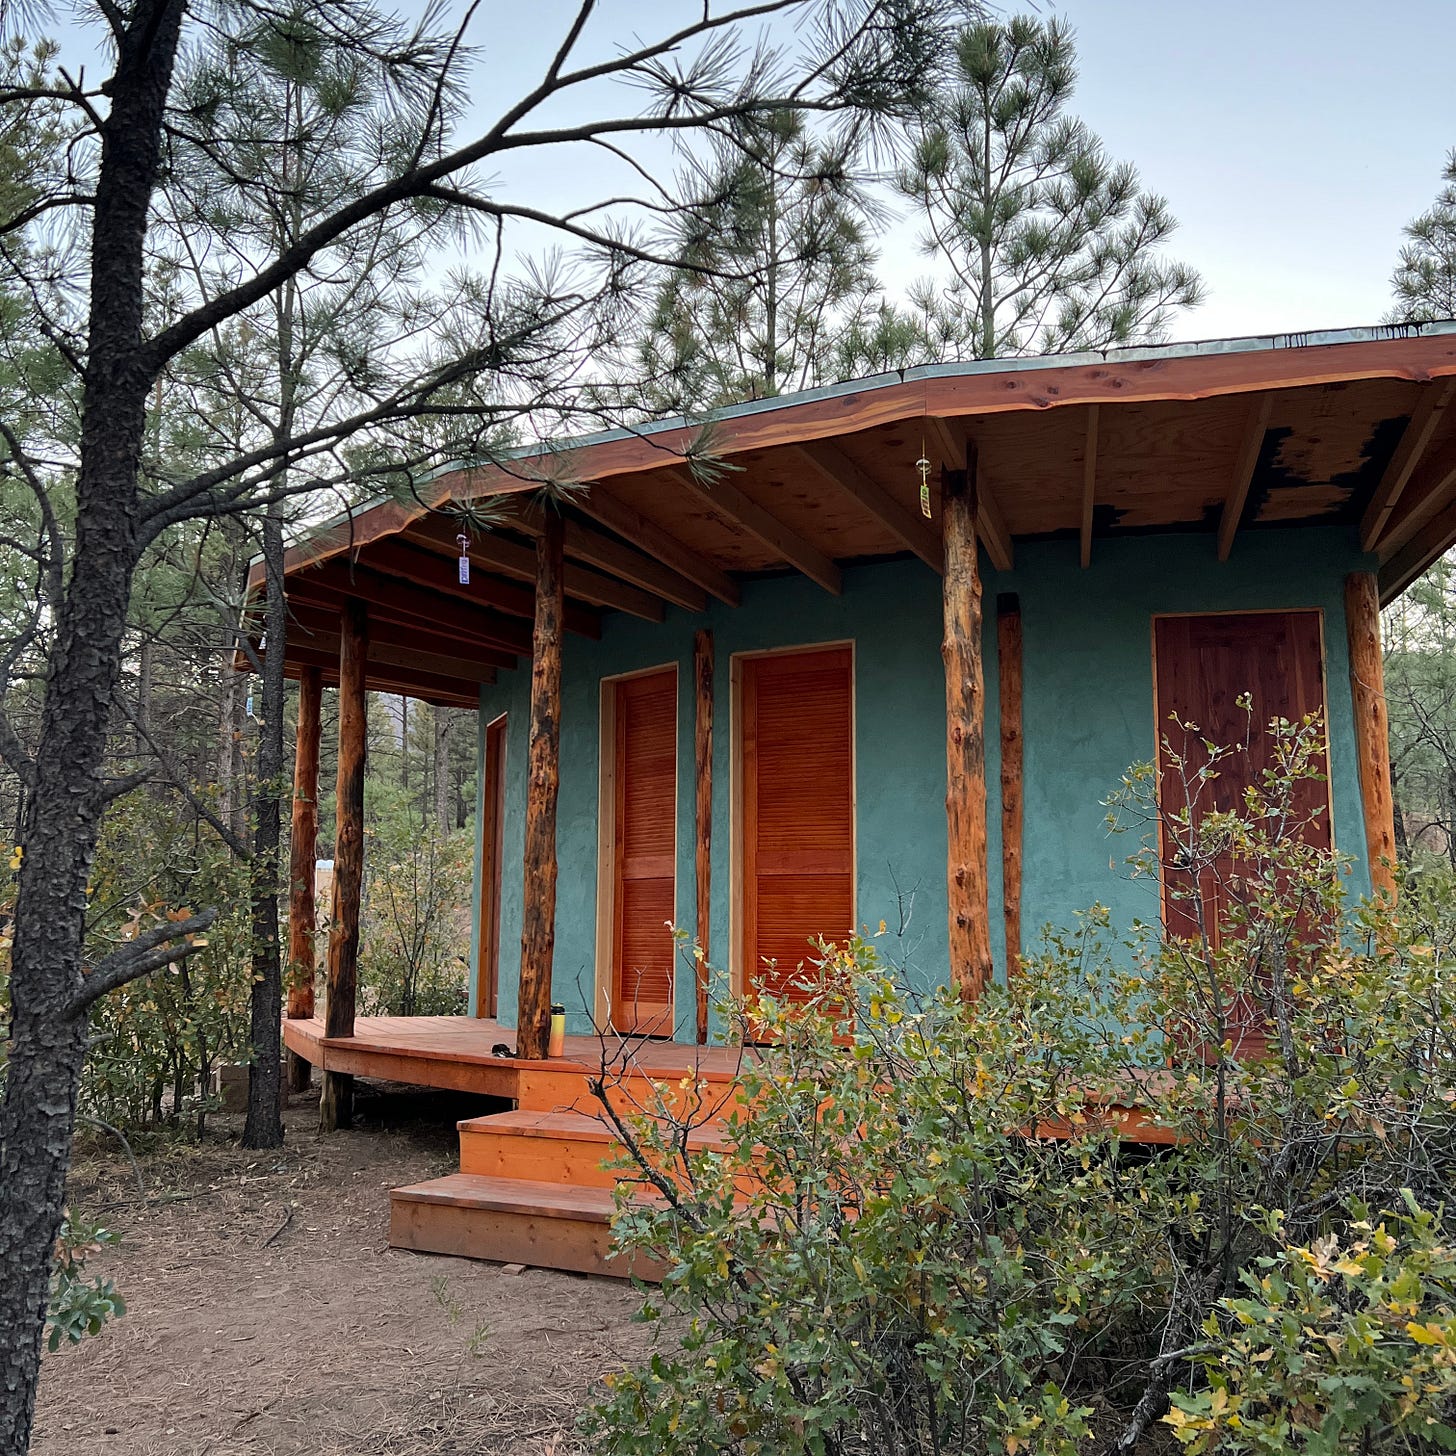
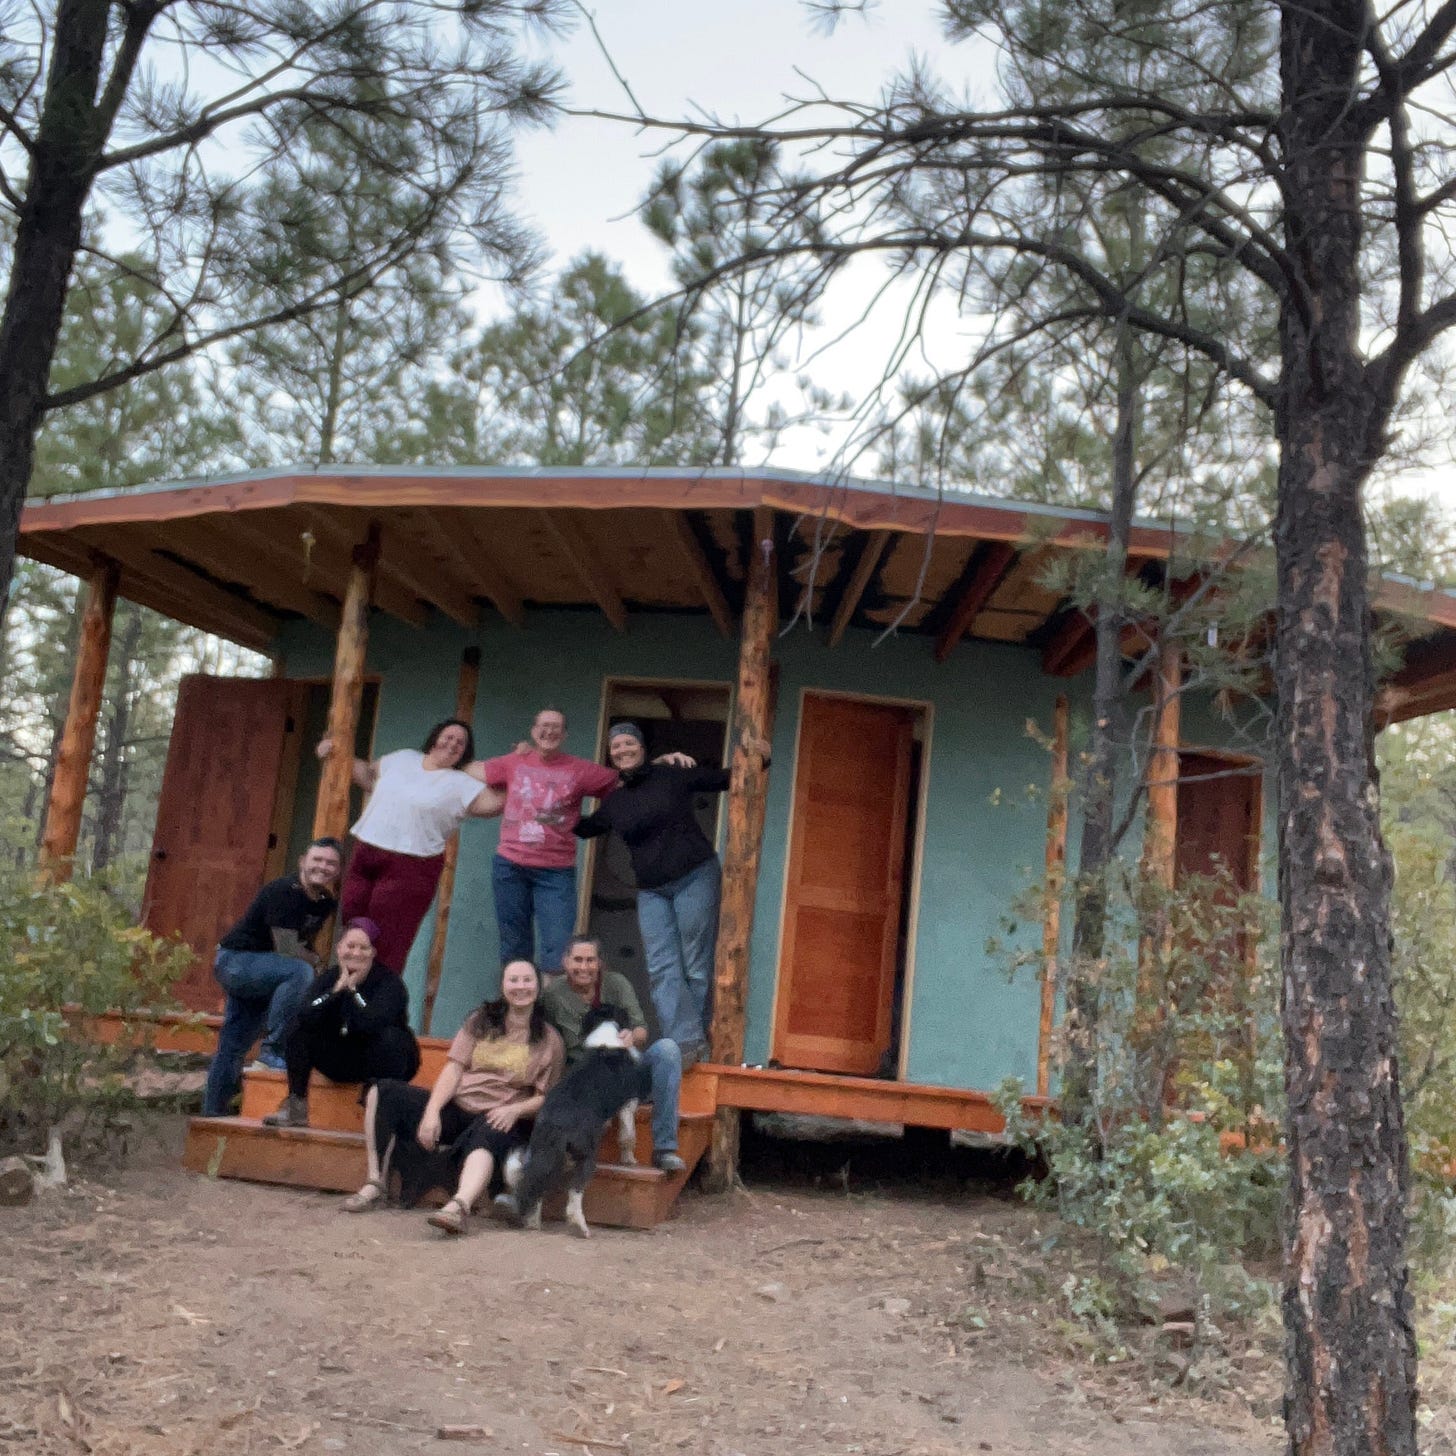
The bathrooms have windows! And actual sit down toilets! A revelation.
One wall in the bathroom has chalkboard paint so I’m looking forward to seeing what graffiti shows up. : )
Bonus Bathtub
Yeeeee! Our outdoor clawfoot bathtub, which was my birthday present.
Next steps:
Finish the bathhouse: tile the showers, drywall, mud, and paint and install the Separett toilet in the second bathroom.
In a future all-things-poop article I’ll introduce you to the the glorious Separett and share about the art of proper pooping processing (and the inherent problems that present themselves) when you live off-grid.
Take down my tent that was destroyed by the fire. I’ve been really reluctant to take it down. Amazing that even thinking about it right now brings tears to my eyes. I loved that queen tent so much, and it is a heartbreak to think about throwing the canvas away, even though it is burnt beyond repair.
Move the shed; our first creation on the property. Now that the central hub is nearly complete, we plan to move the shed away from the center and expand it so we can store the tractor undercover.
Continue milling wood and storing beams for future cabins.
Landscape around the central hub buildings.
Take as many baths as possible.
And after the work, play. But in truth, the work is play as well.
Coming soon: Part 3 in our off-grid building series — All About Poop.
Read part 1 of the building series:
Mud Pies for Adults
Building is messy work. Especially when you are building with literal mud. With volunteers. For our first building up at Warrior Heart Ranch / Warrior Goddess wilderness retreat center I wanted to honor the ancient traditions of these lands and reuse as much as we could from the old adobe house we would be tearing down.




Love everything! Don’t throw your Queen tent away, recycle it into a beautiful piece of art to honor its life.
It’s been such a joy to witness each step along the way.💜